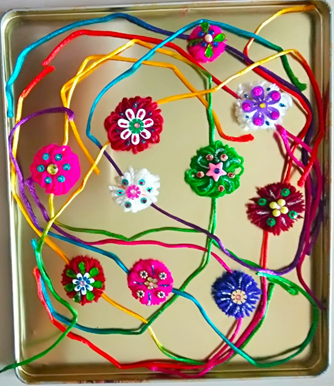
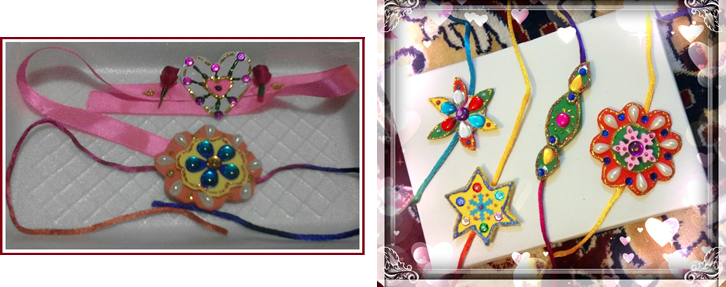
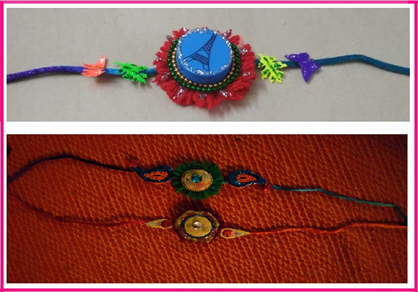
Raksha Bandhan is a festival in India when sisters ties Rakhi on their brothers’ wrists. Now a days, we can find rakhis of many types and colors in the market. These include flower-rakhi, silver-rakhi, beads-rakhi etc., but I love to make my own style of rakhis at home. So, today I am going to show how you can easily make different types of rakhis. I taught this in my art class and we all had a tonne of fun making these :).
We are going to learn to make 3 different types of rakhis (essentially, three different types of rakhi bases)
Materials Needed:
-
For the base of the rakhi:
- For the three type of bases:
- For making rakhi with a cardboard base: pieces of soft cardboard
- For making rakhi with a foam sheet base: Red, green and yellow colored foam sheets (available on Amazon, see these for example)
- For rakhi with base made of wool:
- Colorful wool
- A piece of strong cardboard (0.5 inch by 6 inch)
- For all:
- Colorful silk thread or any other kind of string (to be used for tying the rakhi)
- A pair of scissors
- For the three type of bases:
-
For the decoration of the front of the rakhis:
- Colorful buttons of different shapes and sizes
- Colorful beads
- Fevicol
- Glitter paints
- Colorful chumkis, satin ribbon roses, paper flowers etc.
Steps:
The method to create the rakhis is simple and can be explained in 3 steps:
-
Make the rakhi base using (a) cardboard or (b) foam sheets or (c) wool:
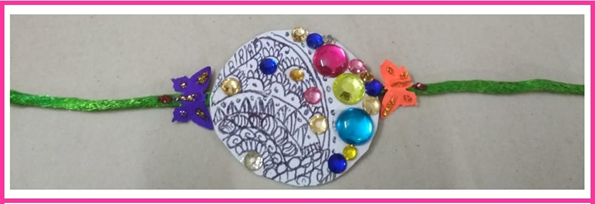
- For rakhi base made of soft cardboard – Cut out shapes from the cardboard – anything that delights you, for example star, circle, flower, heart etc. For example:
- For rakhi base made of soft foam – For this, we will cut different shapes like heart, flower, circle, star or any shape out of soft cardboard and after that with the help of a pencil trace these shapes on colorful foam sheets and cut them out of the foam sheets.
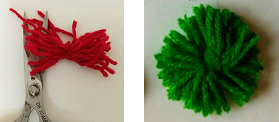
- For rakhi base made of wool – Last but not the least, I would love to share my favorite type of rakhi base. For this we need colorful wool and a piece of strong cardboard 1.5 inch by 6 inch. Wrap wool 20 times around this piece of cardboard in a width, like so:
Next, pull out this wrapped up wool and tie it with another small piece of wool, as shown below:
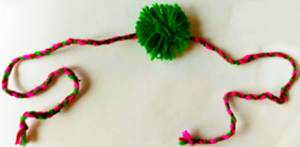
Cut the loops as shown in the picture below and spread the strands around to create the circular base for the rakhi.
-
Attaching a string at the back of the rakhi base (to be used for tying the rakhi):
-
Decorate the front of the rakhi:
Here comes the best part of making the rakhis – decorate away the front of the rakhi :). You can use colorful chumkis, glitter paints, satin ribbon roses, paper flowers, colorful beads etc. Use your imagination and make them per your signature style.
For the cardboard ones, you could also do doodling work on them, this would make these really unique! See the following as examples:
You can also highlight using colorful Glitter paints in your own style to give these rakhi an attractive and beautiful look.


